Anthropologie’s Beaded & Dotted Locket ($58) for much less.
Please join me in welcoming Elise to EA for this tutorial! This post is very photo-heavy.
When I saw this little gem online at Anthropologie, I was smitten. But then I saw the price ($58) and then I saw how big the locket is in a model photo, and it suddenly just wasn’t my thing. But then I started thinking – that would be simple to make in the size I envisioned it, and probably cheaper too! I’m still pretty amateur at jewelry making, but I handled this project with no problem, and you can too, if, like me, you find the original too large, or if you want a different color combination, or you just want to make your own!
Things you will need:
1. Fabric*
2. A locket with an indention to put a cabochon in
3. A cabochon that fits this space
4. A bead of your choice
5. Rhinestone cupchain in your choice of color
6. Chain (I used 26” of brass oval bar chain)
7. Assorted findings: 1 eye pin, 1 clasp, a few jump rings
8. Tools: small sharp scissors, clear gel-type craft glue (as you see I like E6000), multipurpose wire cutting/loop making jewelry pliers
Optional, but highly recommended:
Toothpick(s) to apply/remove glue and place small parts
Tape measure to measure chain, beads, cabochons, etc.
Paper towels to clean up any glue on fingers/other unwanted places
Bead caps
*A note on the fabric: a very small amount will suffice – my fabric was a fat quarter (1/4 yard) I got from JoAnn’s, and I have lots left. It only took a square slightly larger than a postage stamp for my size project. You can use any fabric you want, but consider the size of your cabochon when you select your fabric. It took me a while to find fabric with dots small enough to show multiple dots on the tiny cabochon area. If you are using a larger cabochon like the original locket, this will not be as much of an issue.
I got most of my things from Etsy:
Locket $1.99
Chain $2.99 (for 4 feet, enough to make 2 of these)
Floral beads $2.39 for 10
Low dome cabochons $5 for 8 pieces
From eBay:
Rhinestone cupchain (3 feet, enough to make several of these): $13.50
+ $9.65 shipping (total for all orders)
Stuff obtained locally:
Fat Quarter/Remnant from JoAnn (will make many, many of these) $1.99
Total project cost: $37.51
Keep in mind that all these supplies, except for the locket, which I would have to purchase more of, will make more than one of these projects. If I divide by only the supplies I used, my total project cost is only about $6.
Likewise, some of these supplies you can get cheaper at your local Hobby Lobby, Michael’s, or JoAnn, if you aren’t as picky as me about color or size. I was set on the rose opal cupchain, which is why I had to pay so much for it – it’s a specialty color, and the 2mm size is difficult to find. Hobby Lobby has basic color cupchains (clear, white opal, green, etc.) for much cheaper, in smaller quantities. Also, I paid some extra for my cabochons because I wanted low dome ones (so my fabric piece would not be big and rounded on top when I was done).
I already had my jewelry multipurpose tool and my findings (jump rings, eye pins, clasps), so I did not count those in the total. The findings come in packages of many (~25-50) and are generally less than $2.50, most of mine were $1.99. The multipurpose tool is available at any of your local craft stores and was less than $5.
If you would like to know which Etsy shops I bought from, or if you have any other questions, you can email me at: the.inviolable.voice@gmail.com
The sizes of everything I used are:
Locket = 30 mm x 23 mm with space for a 18 mm x 13 mm cabochon
Bead = 10 mm (I would probably get a slightly larger one, like a 14mm, if I did this again)
Cupchain = 2mm (this is the size of the rhinestones in the chain)
Cabochon = 18 mm x 13 mm low dome (~2mm thick)
Now that all that’s out of the way, let’s get crafting!
Step 1:
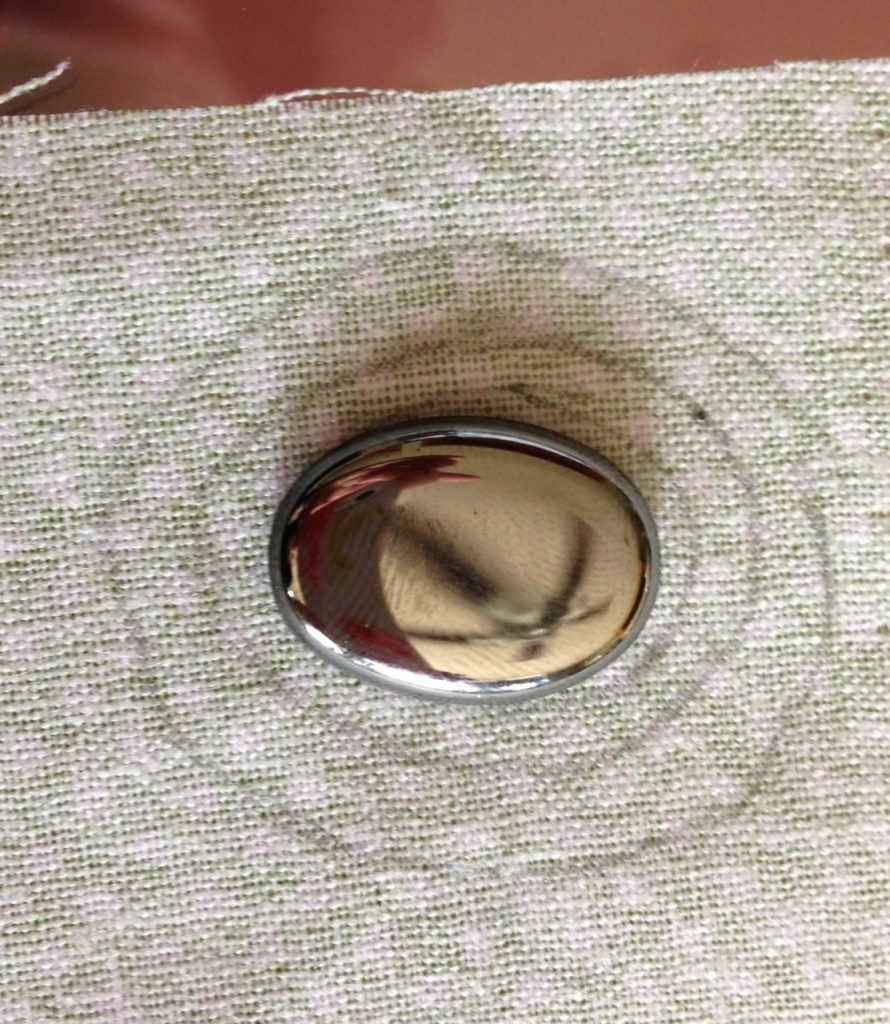
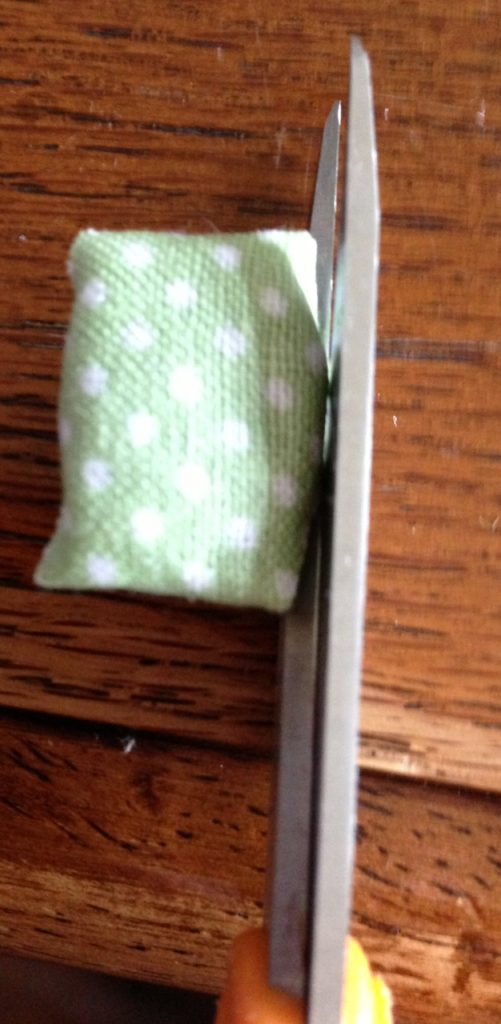
Place your cabochon on the fabric (I prefer on the WRONG, or undecorated side) and cut a piece large enough to cover all sides. (Ignore the circles drawn in my picture, I was testing something).
Step 2:
Put a generous glob of glue on the top of your cabochon and gently press it down onto the fabric. As long as you’re using fabric of adequate thickness (not sheer) and gel-type clear craft glue, the glue should not bleed through the fabric. It’s ok to have extra glue squeeze out, we will need it in a minute.
Step 3:
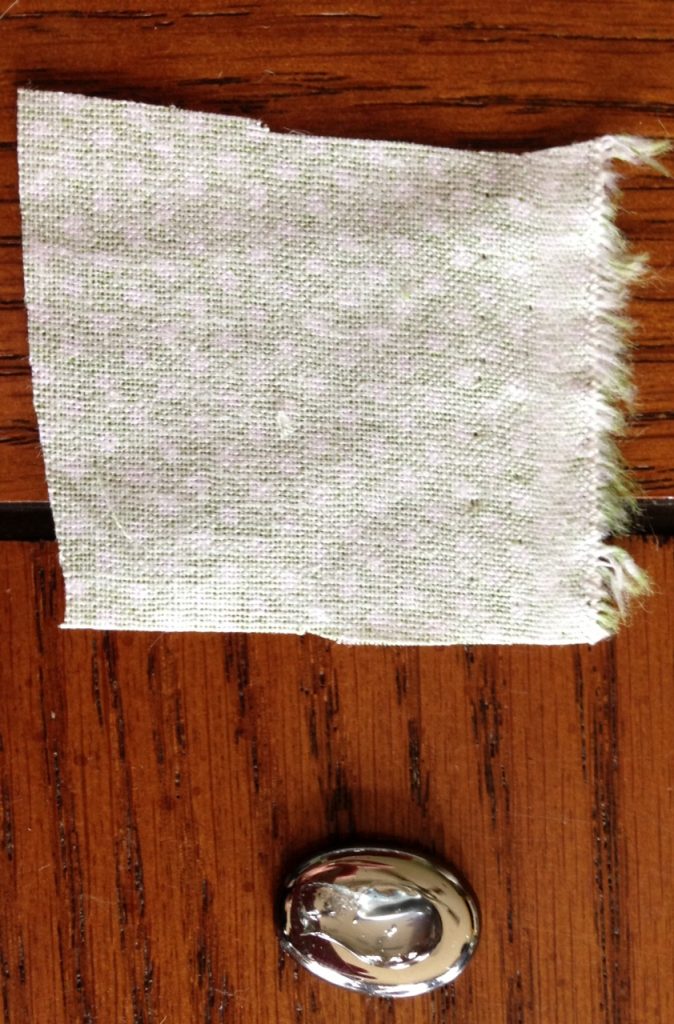
Turn the cabochon over (make sure to protect your work surface just in case!) and put a glob of glue on the back as well. Fold the fabric over north-south or east-west as if you are getting ready to wrap a (tiny!) present, and press it into the glue.
Step 4:
Now, trim off some of the excess fabric from the sides of your cabochon. If you put enough glue at the beginning, some of it should have “squished” down the edges and sides of the cabochon. Use your finger to smooth and press the fabric along the sides of the cabochon with this extra glue. Just be patient and keep smoothing you’re your finger until you get it nice and smooth with no wrinkles. Then, set the cabochon aside to dry a little while.
Step 5:
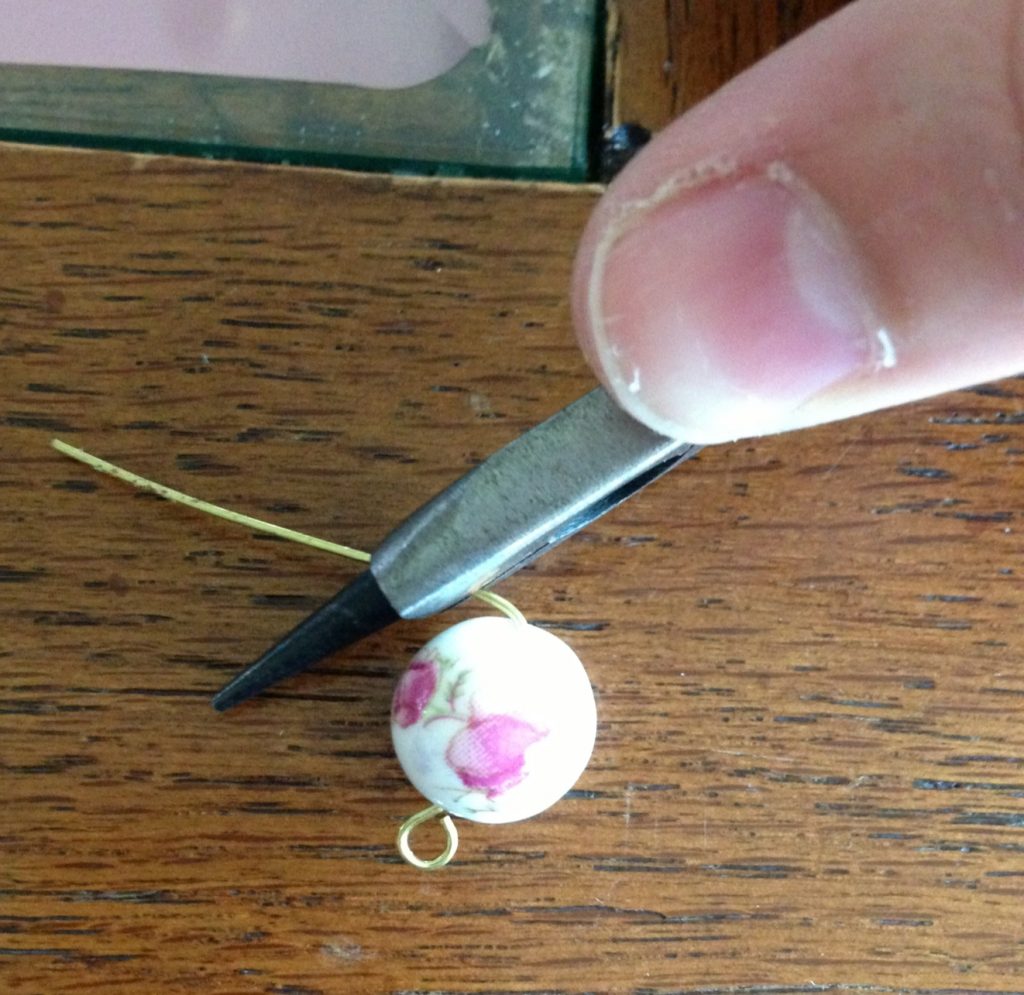
Take your eye pin and thread it through the hole of your bead. (If you are using bead caps, make sure to put one on the eye pin before you thread the bead, and one after, so your bead is sandwiched between them). Bend the straight (eyeless) end of the pin at a 90 degree angle as close to your bead as you can.
Step 6:
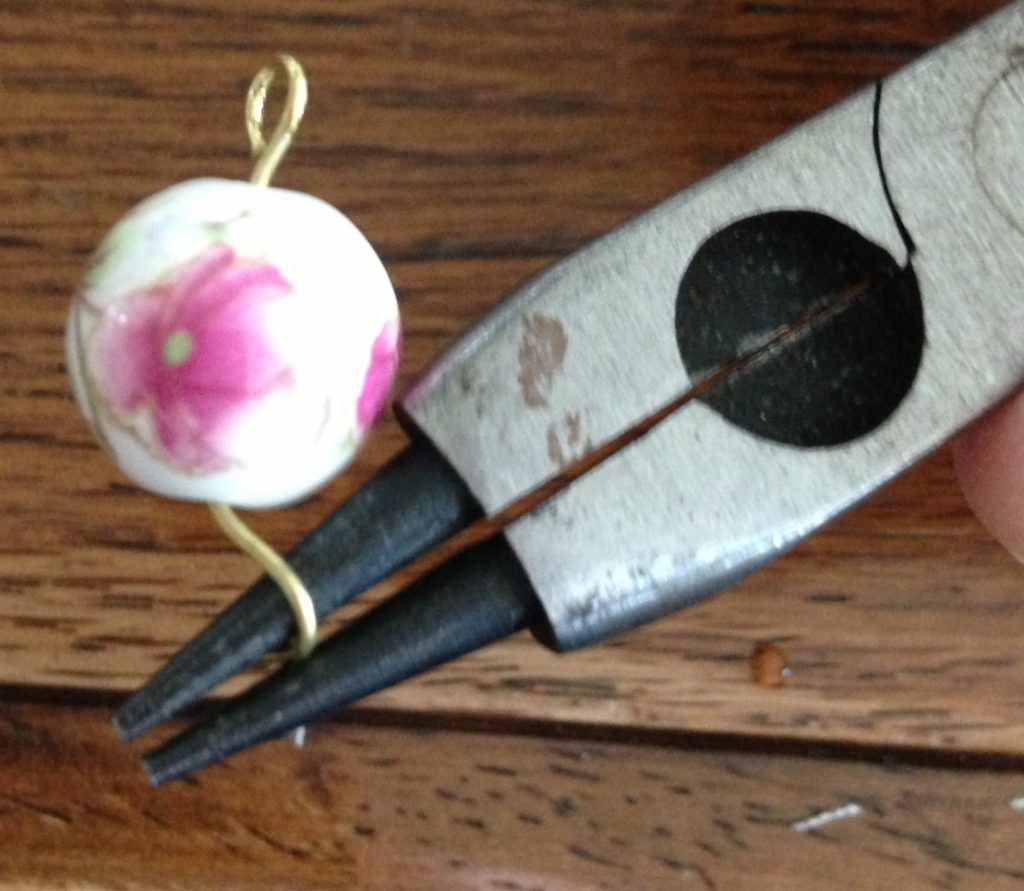
Then, trim the excess from the pin with the wire cutting part of your multipurpose tool – I left about ½” to make my upper loop. Grabbing the end of the remaining wire with your multipurpose tool, use the conical nose and slowly wrap the wire into a loop, ending up at where you made the right angle.
Step 7:
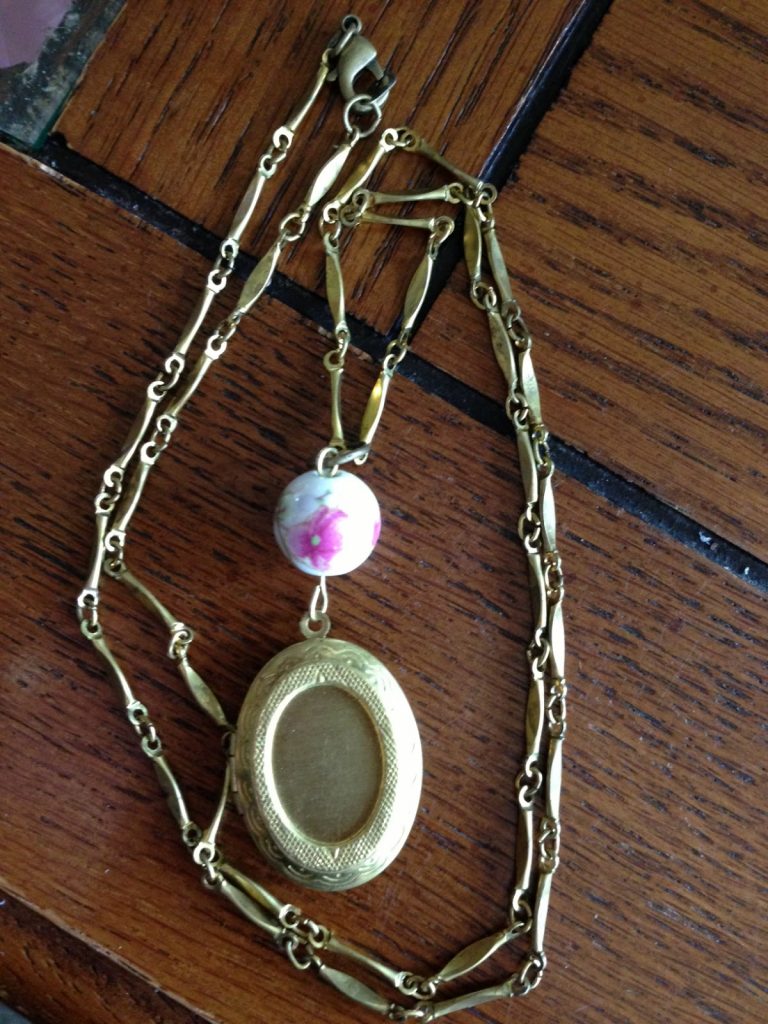
Now you can attach your locket and your chain with the bead. Unwrap the bottom loop from your bead slightly and thread it through the loop at the top of your locket, then use your multipurpose tool to reclose. My bar chain is kind of fat, and I wanted my locket to slide freely along it, so instead of just doing the same process with the top loop, I attached a medium-sized jump ring at the top and threaded my chain through it.
Step 8:
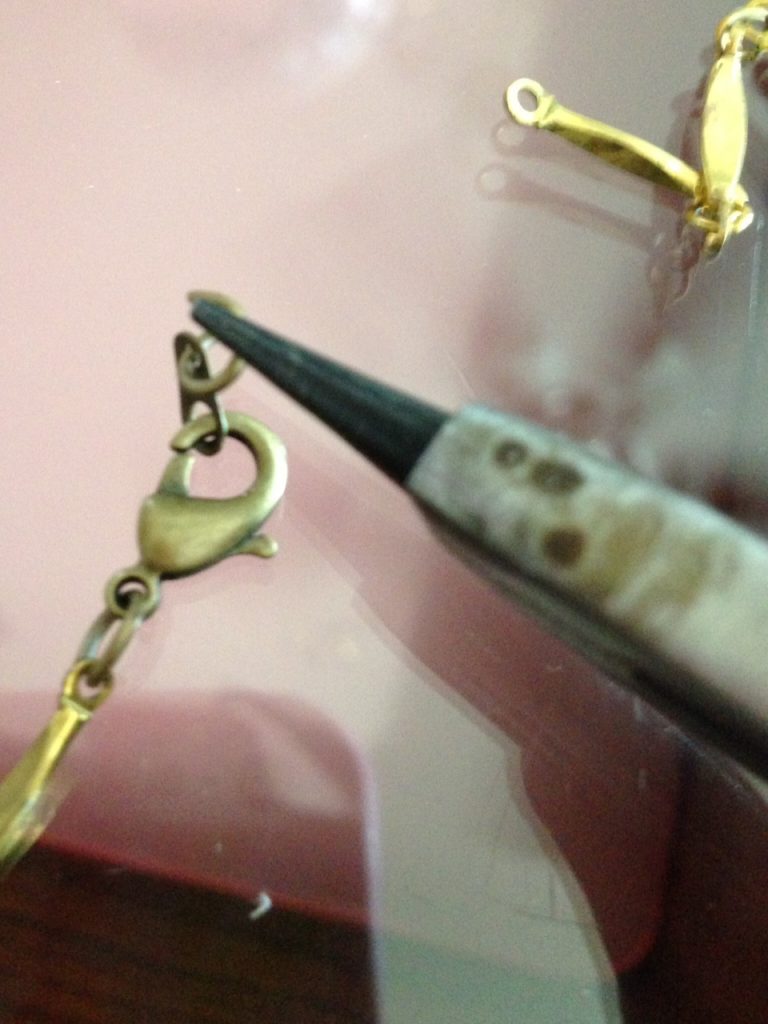
Attach jump rings to both ends of your clasp, and attach those jump rings to either end of your chain.
You should now have this:
Step 9:
Now, the cabochon should be tacky enough that we can trim the excess fabric from the corners. Trim the fabric as close as you can to the cabochon. Don’t worry if a little bit of your cabochon shows through at the edges – your cupchain will cover this. You want to be more concerned with the cabochon looking smooth and rounded. Be sure to test your cabochon to make sure it still fits in your locket’s indention. I had to trim mine a few times before it fit well.
Step 10:
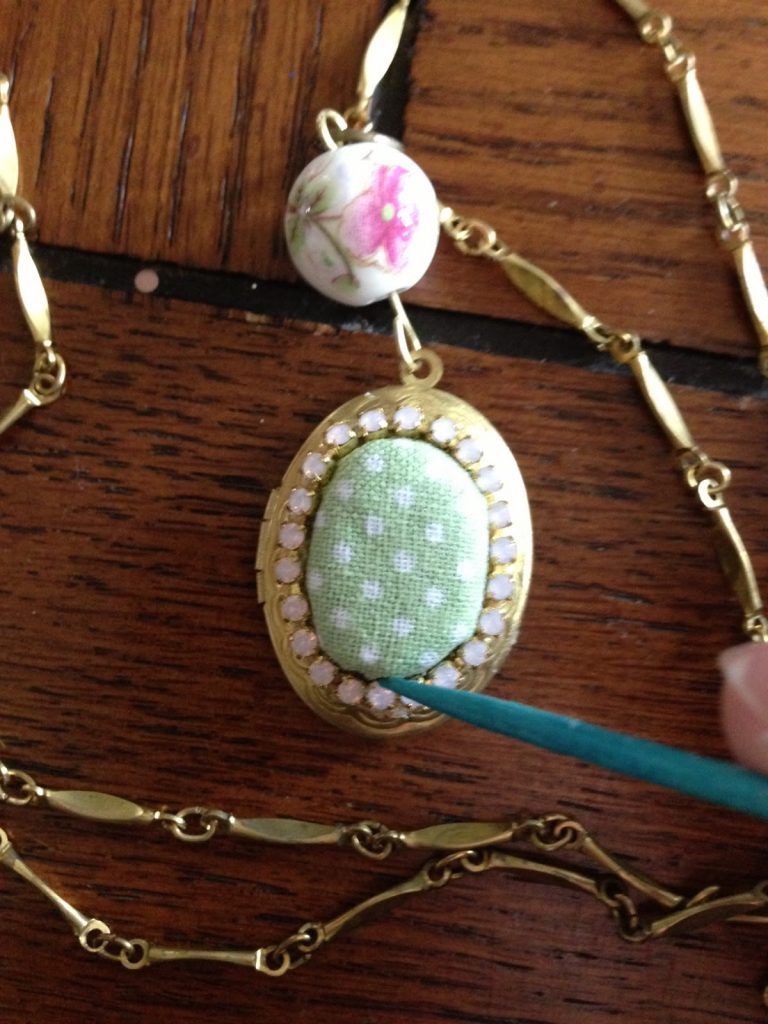
Now, put another generous glob of glue into your locket’s indention and gently press the cabochon down. Glue will squish out the sides. I used a toothpick to skim off some of this excess glue, but you’ll want to leave a little to glue the cupchain on with.
Step 11:
Take your cupchain and wrap it around your covered cabochon to measure how much you need. I just cut my cupchain with a sharp little pair of sewing scissors because my multipurpose tool was too bulky to get between the rhinestones. Make sure to get your ends as close as you can – you don’t want excess space between your end rhinestones, you want it to look continuous. Once you’ve cut your cupchain, put it on again to make sure you like the length and how it’s laying. Re-cut if you aren’t satisfied.
Step 12:
Now, arrange your cupchain how you want it and gently press it into the excess glue from Step 10. I used a toothpick here to skim off more glue and to position the cupchain exactly how I wanted it. Your cabochon and cupchain’s glue will still be tacky at this point, so you can make tweaks to the positioning of both if you need to—I had excess fabric trying to make a corner at one side of my cabochon, so I used the toothpick to poke it down, then to press the cupchain close so it wouldn’t get loose again.
Step 13:
Let glue dry for 24-48 hours before wearing, and then you’re ready to go!


